The following process for the registration of a user is common to the registration of all users regardless of the roles that may later be assigned.
For information on the registration of Vodacom members refer to
Client Specific
ACA
Vodacom
Web Site Access
Note:
An alternative method of registration / logon is the use of an ID/Passport number field and a single password.
For information on registration / logon using this method, refer to
Web Site Access
Accessing the Web Site (using ID/Passport number)
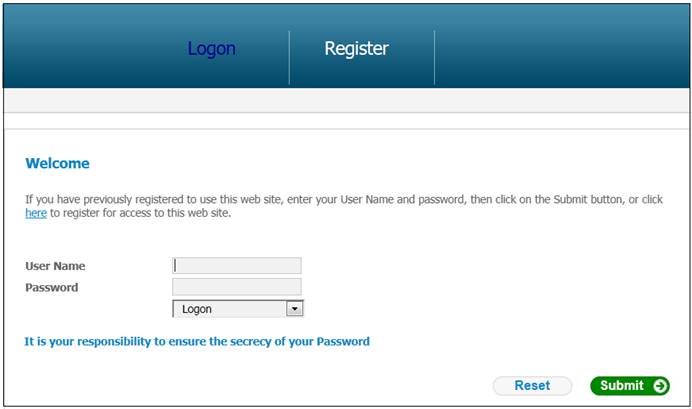
On accessing the web site, the Logon screen will be displayed.
In order to register, click Register on the main menu.
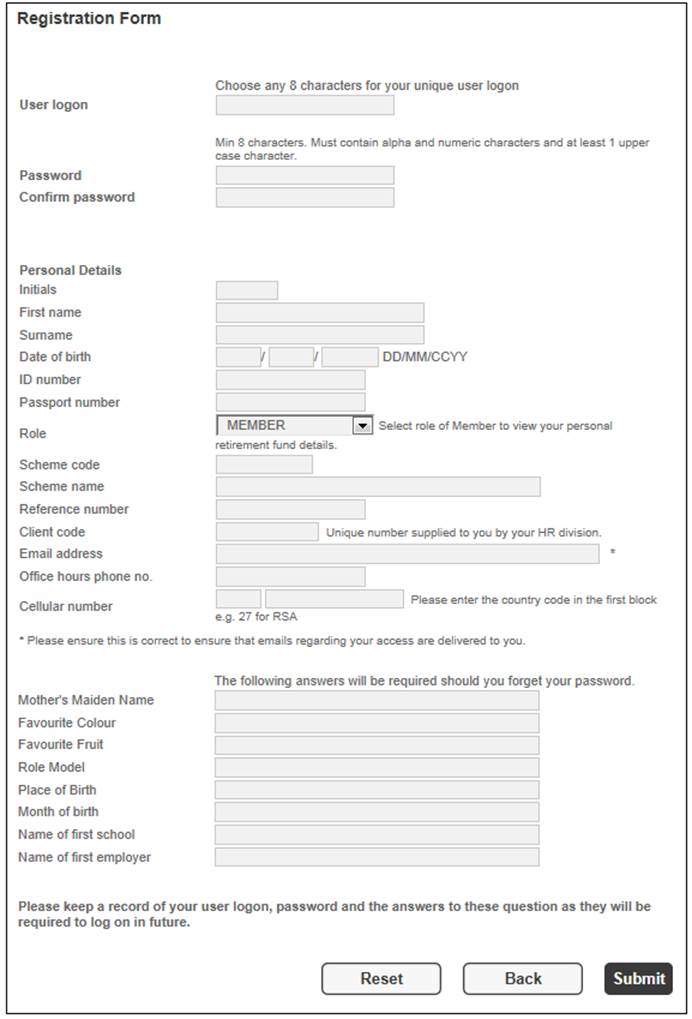
The Registration Form screen will be displayed:
Note:
The system provides for two types of password access:
- access via a single password, which expires periodically and must be changed on expiry
- access via two passwords, which never expire
An alternative method for web site access is the use of an ID/Passport number field and a single password.
Refer to
Web Site Access
Accessing the Web Site (using ID/Passport number)
The configuration of the installation of the system will determine which of these methods is required for access, and the screens may look different to the ones displayed here.
The automatic registration process is enabled if the automatic member registration type is selected on the fund. Refer to
Product Launch Requirements
Product Launch
Launching a Product
The administrator will dispatch a unique client code to the user in a sealed envelope by post. When the user registers on the member web, the provision of a client code will be mandatory. Once all the validations are performed at registration, the user will automatically be registered.
The user registration process is as follows:
- person registers on the web site
- administrator confirms the registration
- confirmed user logs onto the web site
- user / superuser updates the password
- user updates security answers
Complete all the required details, and provide answers to at least three of the questions on the lower section of the screen.
The fields on the registration form are described below:
|
User Logon |
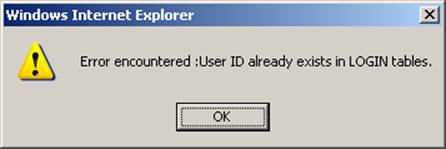
Provide a user ID in the User Logon field. This name can contain up to eight characters, and can be alphabetical or numerical. If the User Logon you have selected already exists, the following message will be displayed:
|
|
|
|
|
|
Click OK, then re-enter a unique User Logon. |
|
Password |
Enter a password in the Password field. The password must contain a combination of at least eight (but no more than ten) mixed case alpha and numeric characters, must be different to the previous 13 passwords, and may not contain your username. Your password should be kept secret. |
|
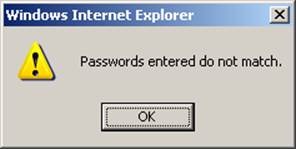
Confirm Password |
The purpose of confirming the password is to ensure that you have not typed your password incorrectly. If the two passwords do not agree, the following message will be displayed: |
|
|
|
|
Initials |
Your initials. Not required if the selected role is GENERAL. |
|
First Name |
Your first name. Not required if the selected role is GENERAL. |
|
Surname |
Your surname. Not required if the selected role is GENERAL. |
|
Date of Birth |
Your birth date. This should be in the format day, month, year. Not required if the selected role is GENERAL. |
|
ID Number |
Your national identification number. Not required if the selected role is GENERAL. |
|
Passport Number |
Your passport number. |
|
Role |
This is your security classification to access services. Click the drop-down list and select the appropriate role from the list of roles provided.
Note: A role of GENERAL has been provided for users who need access to scheme information only. Access is to the contents of the Product Information menu option under Reporting. Refer to Overview. |
|
Scheme Code |
The code of the scheme to which you belong. Only required if the selected role is MEMBER or GENERAL. |
|
Scheme Name |
The name of the scheme to which you belong. Only required if the selected role is MEMBER. |
|
Reference Number |
The reference number by which you are identified within this scheme. Only required if the selected role is MEMBER. |
|
Client Code |
The use of this field will speed up the registration process. If you were given a client code, enter it here, otherwise leave blank. Only required if the selected role is MEMBER. Completion of this field is mandatory if AUTOMATIC MEMBER REGISTRATION was selected on the Basic Product Data screen. Refer to Product Launch Requirements Product Launch Launching a Product For details of the validations performed, refer to Security Registration User Logon Validations |
|
Email Address |
Your contact e-mail address. Not required if the selected role is GENERAL. |
|
Office Hours Phone No. |
The phone number where you can be contacted during office hours. Not required if the selected role is GENERAL. |
|
Cellular number |
The Cellular number where you can be contacted. |
|
Mother's Maiden Name Favourite Colour Favourite Fruit Role Model Place of Birth Month of birth Name of first school Name of first employer |
Three of these questions will be used for validation in the event that you forget your password. Should you provide answers to more than three questions here, then at the time of requesting your password, the questions will be presented randomly. Note: The configuration of the installation of the system will determine the number of questions that are compulsory. |
Once you have completed the registration form, click SUBMIT.
If the password does not conform to the password rules, the appropriate message will be displayed.
The following message will be displayed:
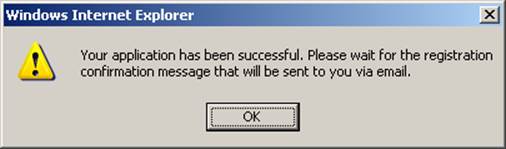
The Welcome screen will be re-displayed.
When the registration has been finalized, you will receive an automated e-mail.
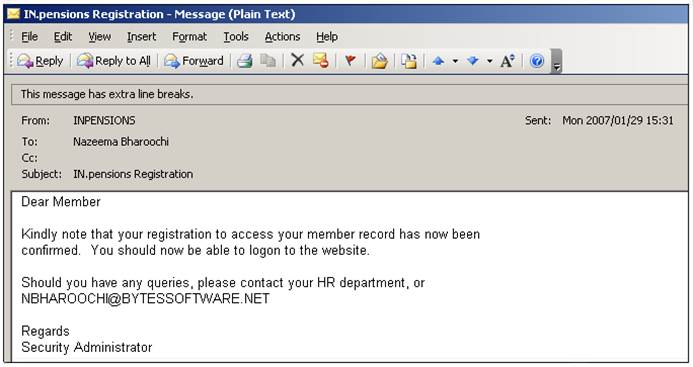
The process continues with the creation of the person record. The system will send an e-mail to the new user at the point in the process where the logon ID and the person have been linked. Refer to
Security
Registration Process by the Administrator
The new userid along with personal details has now been registered.
The person for whom the new userid has been created must now be added to the system as a person.
Log in to the system from the Logon page.
Click clients.
The Welcome screen will be displayed.
Select Persons from the top menu. The JU1BA Client List screen will be displayed.

The screen displays a list of all persons available for selection. If the new user already exists as a person on the system (i.e. if the user's name is listed on the screen), skip to Link user to person under Pending Registration.
To add a new person, click NEW. The JU1BA Client Details screen will be displayed.
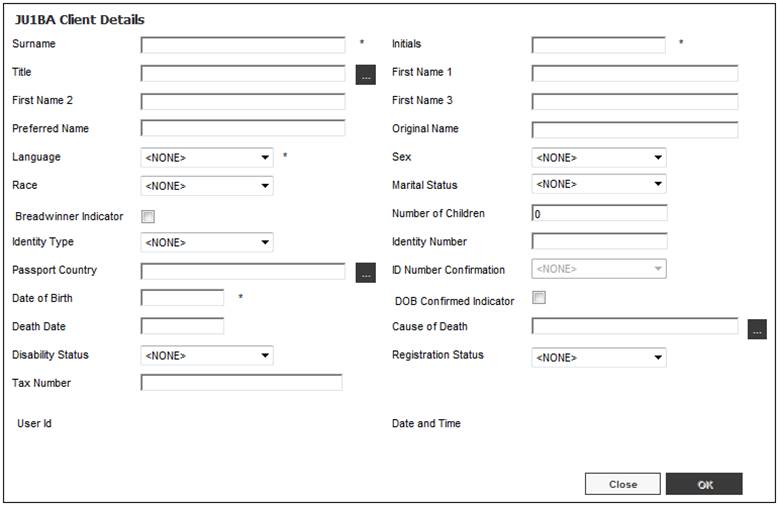
This screen provides for the capture of the personal details of the new user.
Descriptions of the input fields on this screen appear below:
|
Name Details |
|
|
Surname |
The surname of the person. |
|
Initials |
The first letters of the forenames of the person. |
|
Title |
The title of the person. |
|
First Name 1 - 3 |
Allows for 3 forenames to be entered for the person. |
|
Preferred Name |
The name by which a person prefers to be known. |
|
Original Name |
Previous surname or maiden name. |
|
Language |
The Language by which the person wishes to be addressed. The following options are available in the drop-down box: |
|
Sex |
The gender of the person. The following options are available in the drop-down box: |
|
Race |
The racial classification of the person. The following options are available in the drop-down box: |
|
Marital Status |
The current Marital Status of the person. The following options are available in the drop-down box: DEPENDANT DIVORCED ESTRANGED LEGAL SEPARATED MARRIED QUALIFIED PARTN REMARRIED SEPARATED UNKNOWN |
|
Breadwinner Indicator |
This field indicates whether or not the person is the Bread Winner of the family. Click on the box to indicate Yes or leave blank for No. |
|
Number of Children |
The number of children dependent on the person. |
|
Identity Type |
The Country of origin of the person’s Identification Document. The following options are available in the drop-down box: MOZAMBIQUE ID OTHER SA ID |
|
Identity Number |
The National Identity Number of the person. |
|
ID Number Confirmation |
The method used for confirmation of the ID Number. Values may be: HOME AFFAIRS UNCONFIRMED
Note: South African ID Numbers are validated using a Home Affairs link. Once an ID Number has been validated it will not be able to be updated. If the value for ID Number Confirmation is HOME AFFAIRS, the system will protect the ID Number field and it will not be enabled for update. |
|
Passport Country |
The country which issued the Passport. Select a Country from the LIST.
This field is mandatory if the Identity Type selected is PASSPORT. |
|
Date of Birth |
The birth date of the Employee. |
|
Dob Confirmed Indicator |
Click on the box to indicate that the person’s date of birth has been confirmed. Leave blank to indicate that it has not been confirmed. |
|
Death Date |
The person's date of death. |
|
Cause of Death |
The cause of death of the person. |
|
Disability Status |
The format of correspondence / communication with the member.
Select one of the options from the drop-down box (e.g. Braille, Cassette, Compact Disc, Large Print). |
|
Registration Status |
The FICA registration status of the bank account.
Select one of the following values from the drop-down list:
APPROVED EXEMPT FICA COMPLIANT NOT APPROVED PENDING |
|
Tax Number |
The tax number of the person. |
|
User Id |
The Id of the User who created this Client Details record. |
|
Date and Time |
The date and time when this Client Details record was created. |
Note:
Where an asterisk (*) appears alongside a field, completion of that field is mandatory.
Click OK. The JU1BA Client List screen will be re-displayed, showing the new details added.